
Set up your own cloud storage with Nextcloud
What is Nextcloud?
Nextcloud is open-source software for file hosting. Nextcloud is functionally similar to Dropbox, Office 365, or Google Drive and anyone can host it on their machines. It’s built with security in mind and with a modern and easy-to-use web interface, desktop clients, and mobile apps.
Unlike other file hosting services, Nextcloud can have unlimited storage space with large file support. We can extend the functionality of Nextcloud with the help of apps. There are apps for syncing calendars & contacts, integrating chat & video conferencing, viewing and editing office files, and much more.
Now let’s look at how to set up our Nextcloud server. For that we need,
- A computer with a 64-bit processor and at least 512 MB of RAM
- Ubuntu or its derivatives installation media (if OS is not installed)
- Gigabit Ethernet (optional, Needed for faster file transfer)
How to install Nextcloud?
In this guide, we are going for the easiest way to install Nextcloud. To do that we need a computer with Ubuntu or its derivatives (which supports snap package manager) installed in it. If you are using it for personal use an old computer with the above specification is enough, higher quality components are recommended for better performance. If you don’t have any OS on the computer and don’t have any idea about which OS to choose then use the latest LTS version of Ubuntu and refer to this guide for installation help.
To install Nextcloud open any terminal emulator type and execute the below command.
sudo snap install nextcloud
This will install and configure all packages needed for the nextcloud to work properly.
After the installation is completed go to http://localhost. It will look something like this.
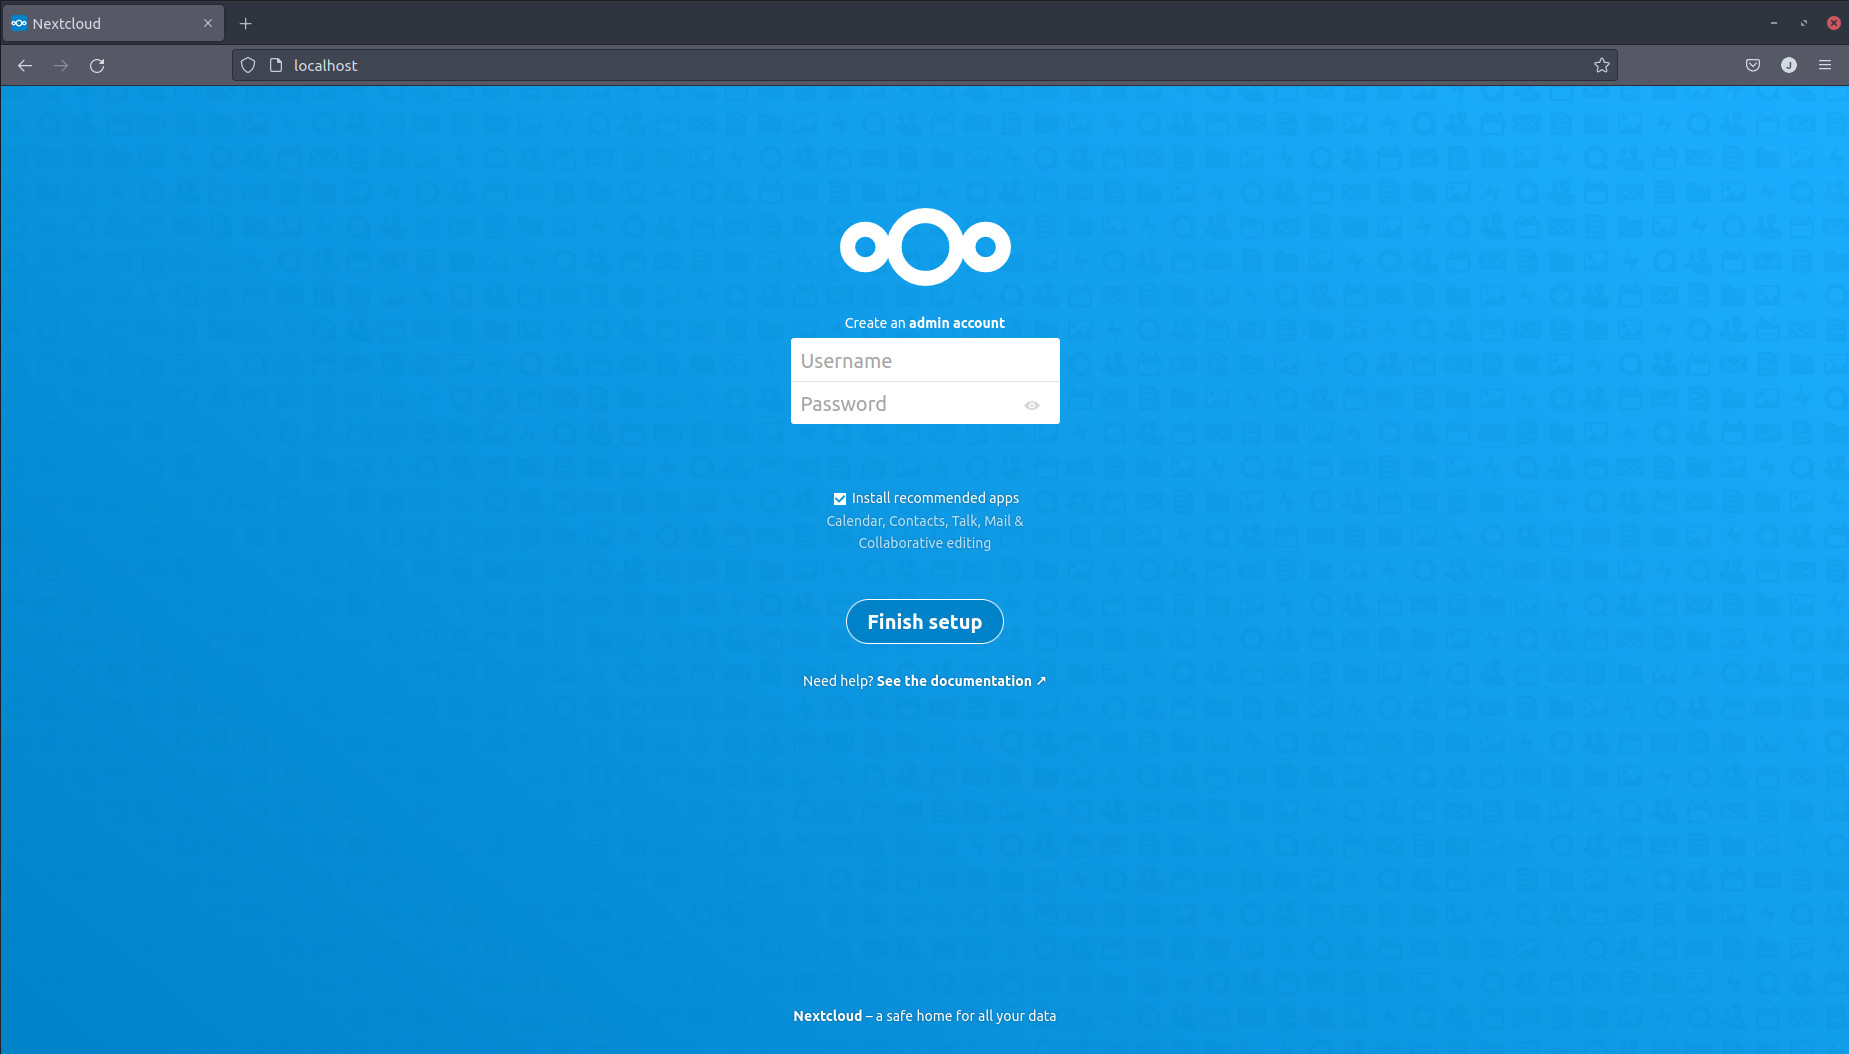
It will ask for an admin username and password. Type in username and password (setting admin as username will be a better option) and click finish setup. Don’t forget to tick the recommended apps. It will install recommended apps like Contacts, Calendar, etc. The finishing setup will take some time to process and redirect to installing recommended apps.

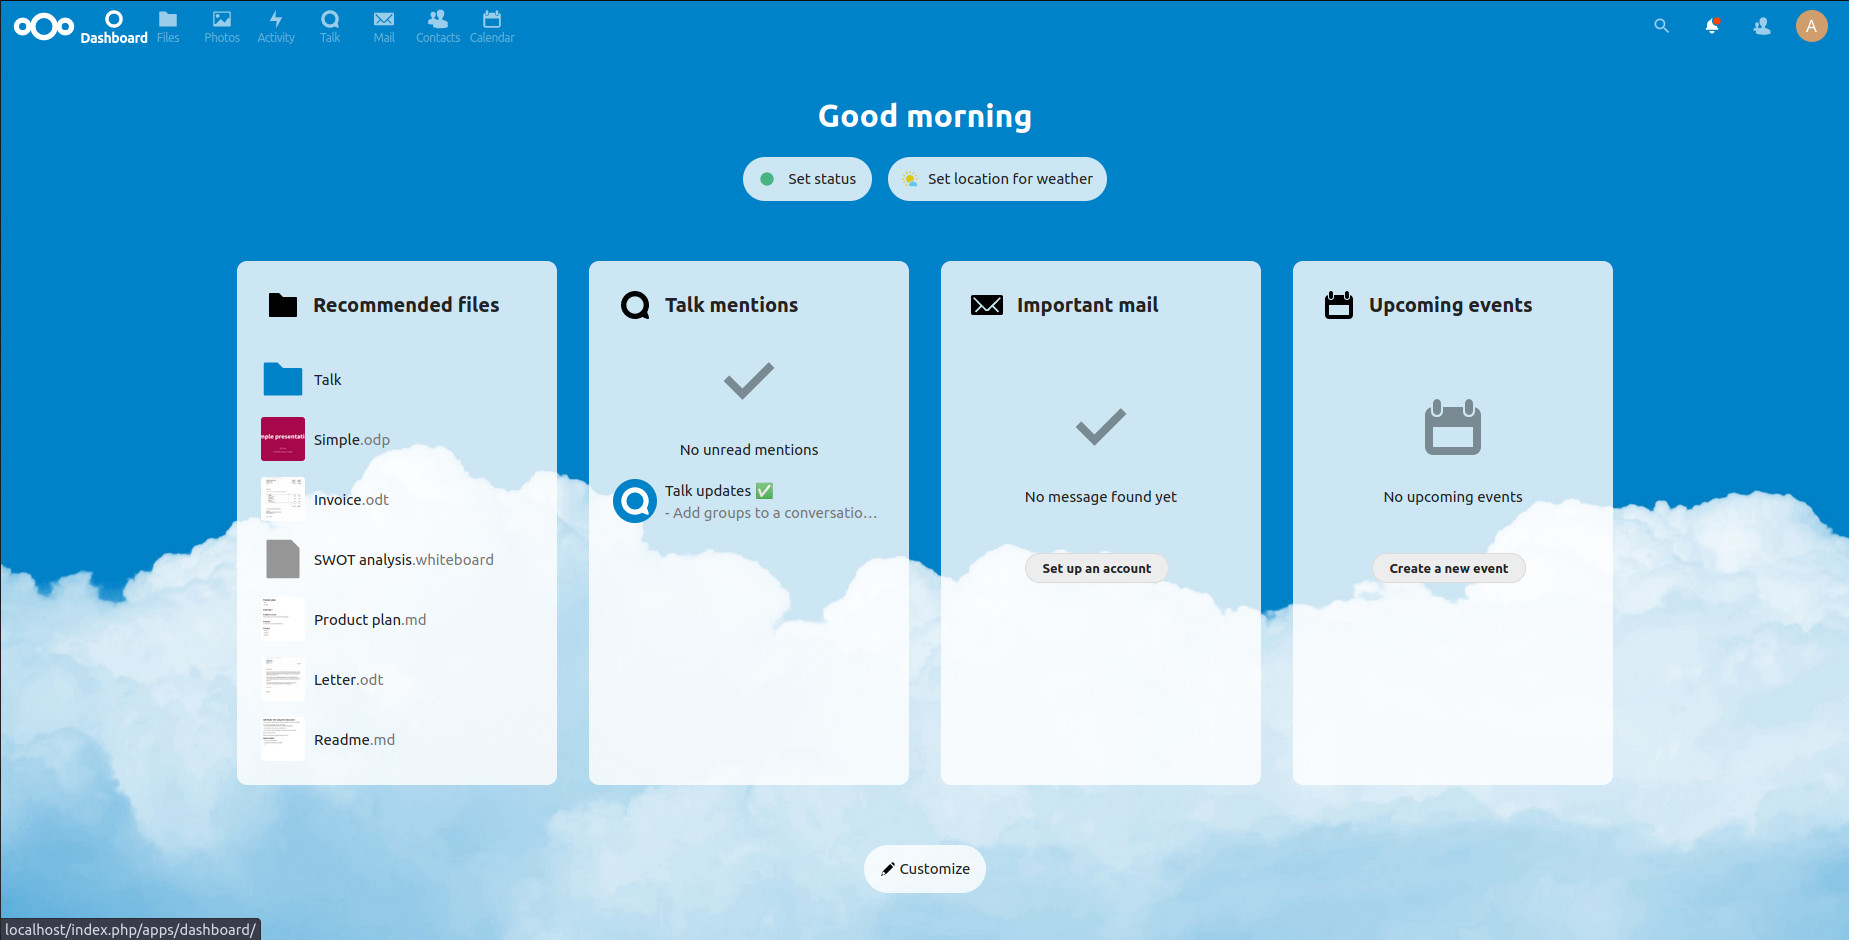
After completion, the admin user will log in automatically and redirect to Dashboard.
Deep dive into Nextcloud web application
After login, every user will redirect to the dashboard. It is the default view for all users. The dashboard can be customized using widgets. Customize button at the bottom can be used to customize the dashboard.
On the top left, we have the option to go to the dashboard, Files photos, and other apps installed. This list will depend on the apps installed by the admin user.
On clicking, files will show the file manager. It will show all the files owned by the current user and the files/folders shared with the current user. There is also an option to view images and play videos inside this file manager. When a user is created for the first time, Nextcloud will provide a few demo files of different types for the users to play around with.
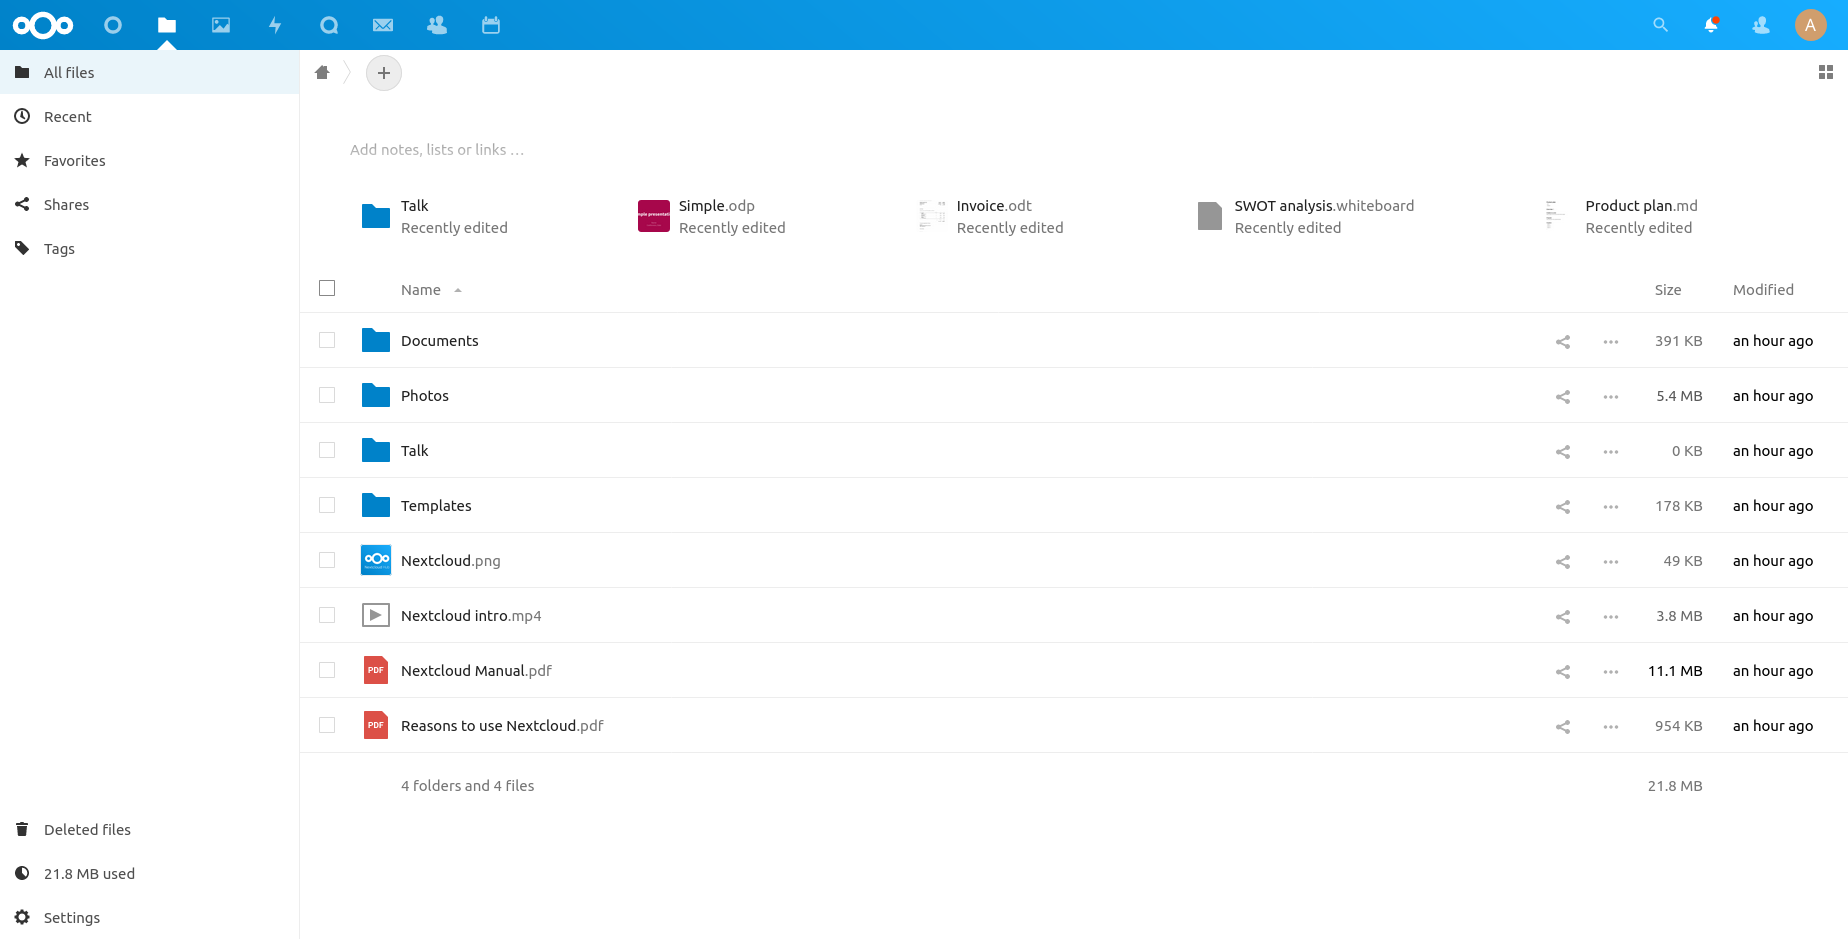
Tapping the plus button on the top will prompt options for adding files and folders to the server. Drag and drop also work.
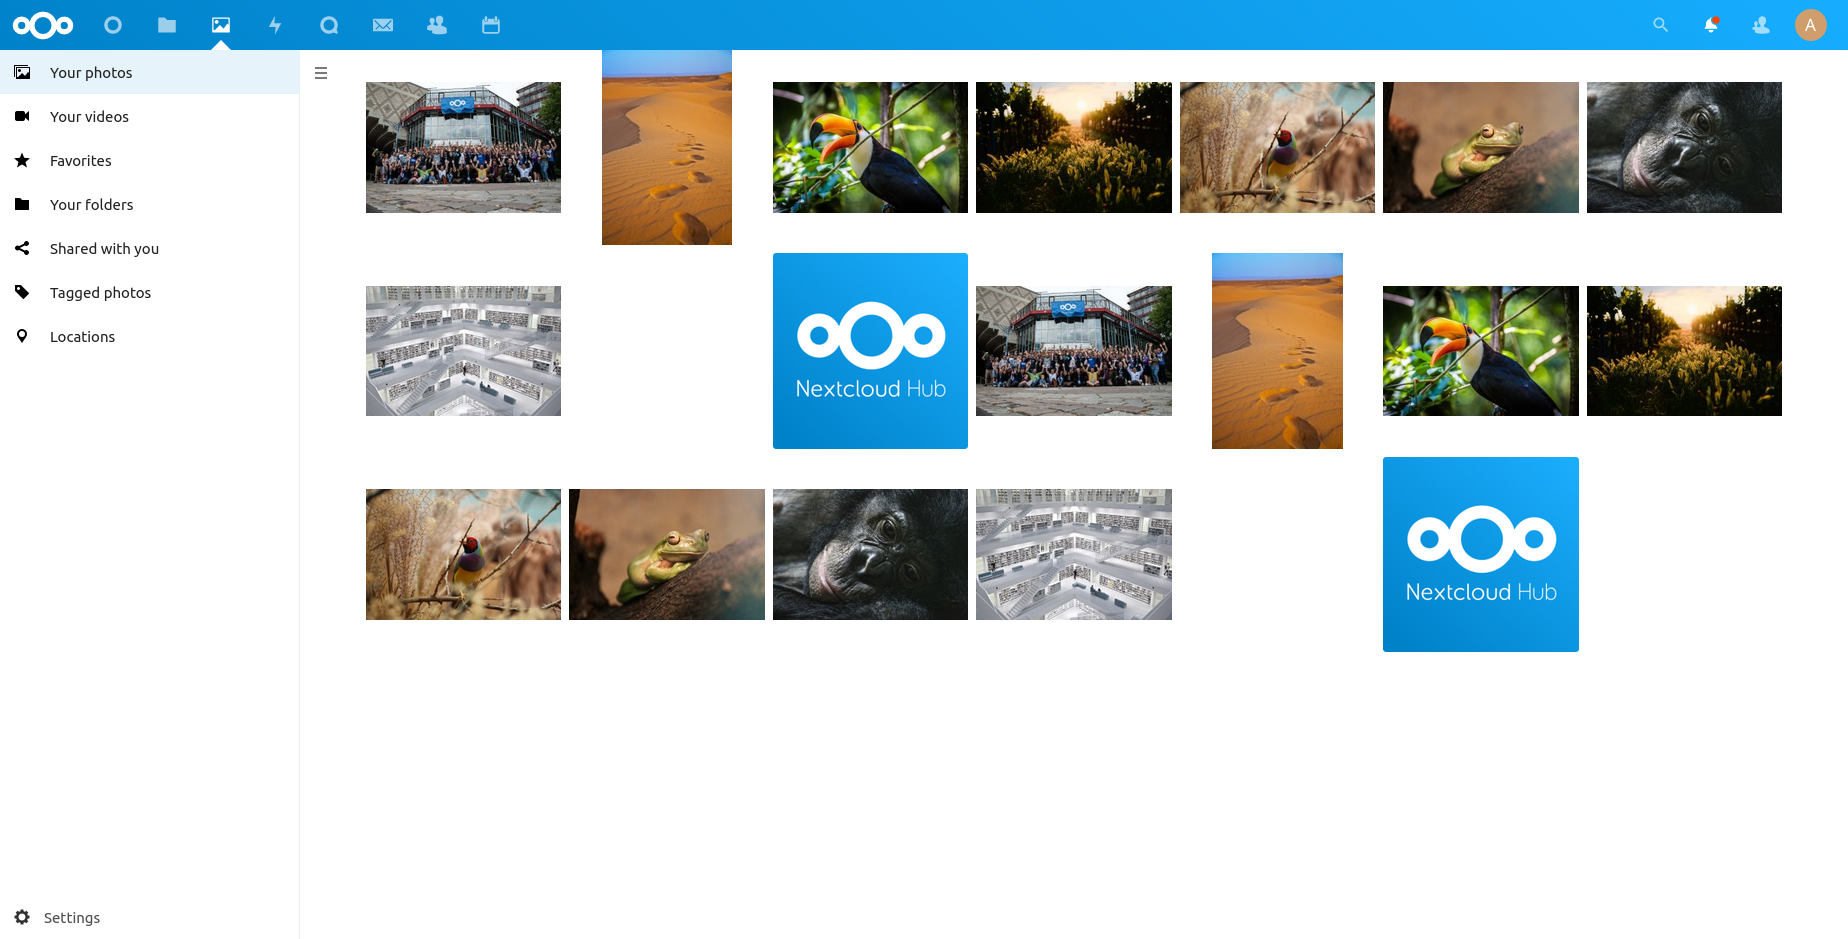
Next on the list is the Photos viewer which will show all the photos and videos in the user’s Nextcloud account. It’s an easy way to manage and view multimedia content for the user.
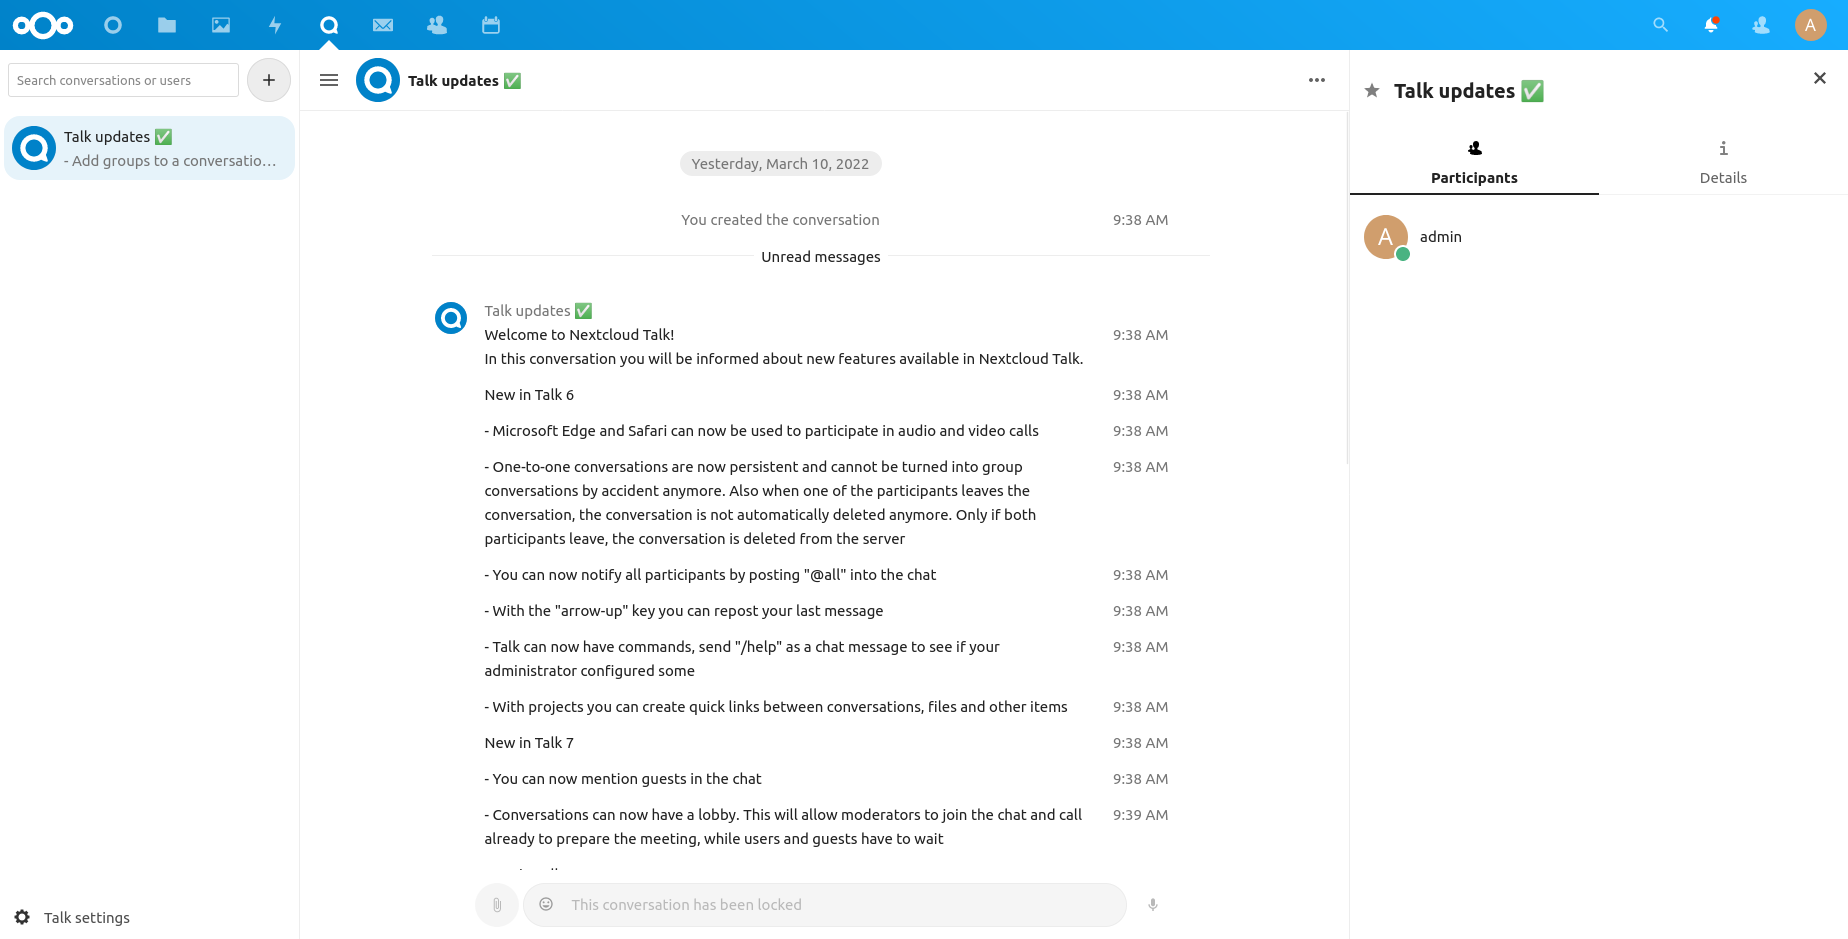
Next, we have Talk, a chat, video & audio-conferencing application which has all the functionalities of a modern instant message application including sending multimedia, video conferencing, group messaging, etc. Which also has a separate android and iOS application for easy use.
Default applications also include Activity, mail, contact, and calendar which are self-explanatory.
How to configure the Nexcloud server?
Creating user
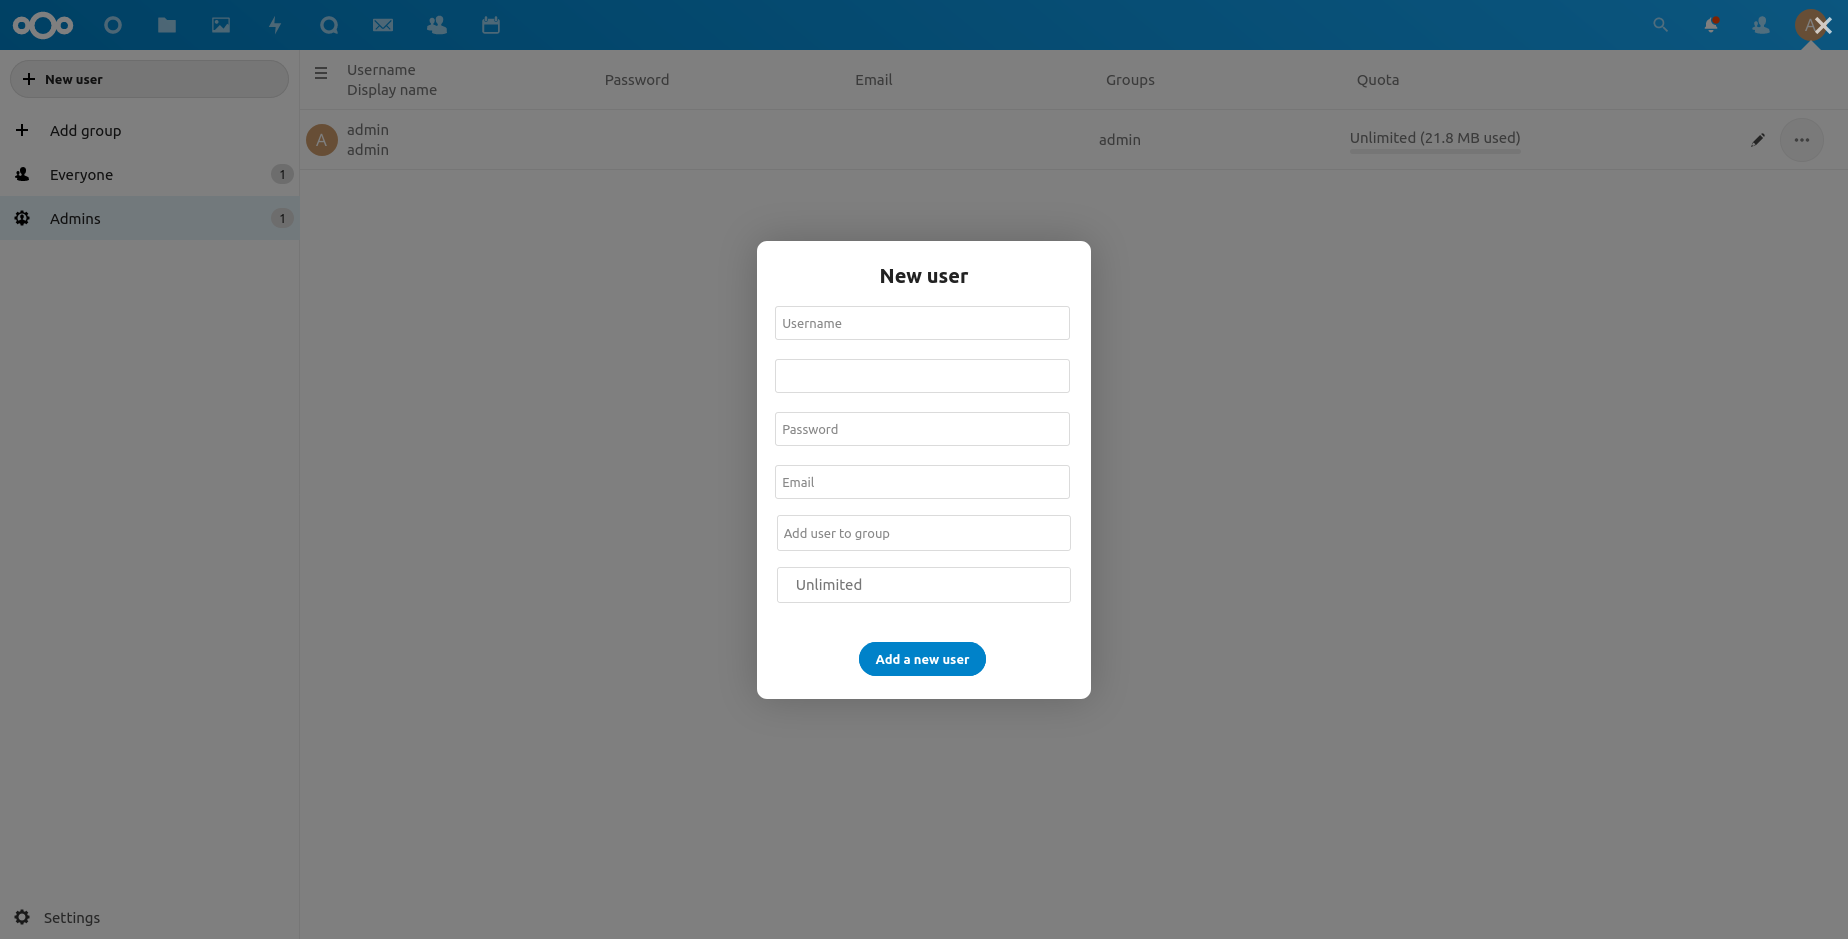
Nextcloud gives the option to create user accounts so that each user can have their own space to store files and can share these with other user accounts. This account is also used by the Talk application for communicating with other users. To create user accounts click on the profile icon on the top right and select users from the dropdown. This will redirect to the user management page.
On clicking, a new user creation window will popup to add user details like username, email, password, and storage quota (unlimited, 1GB, 5GB, etc). After entering the details click add a new user. Now, this new user can log in to Nextcloud using the credentials.
Installing Apps
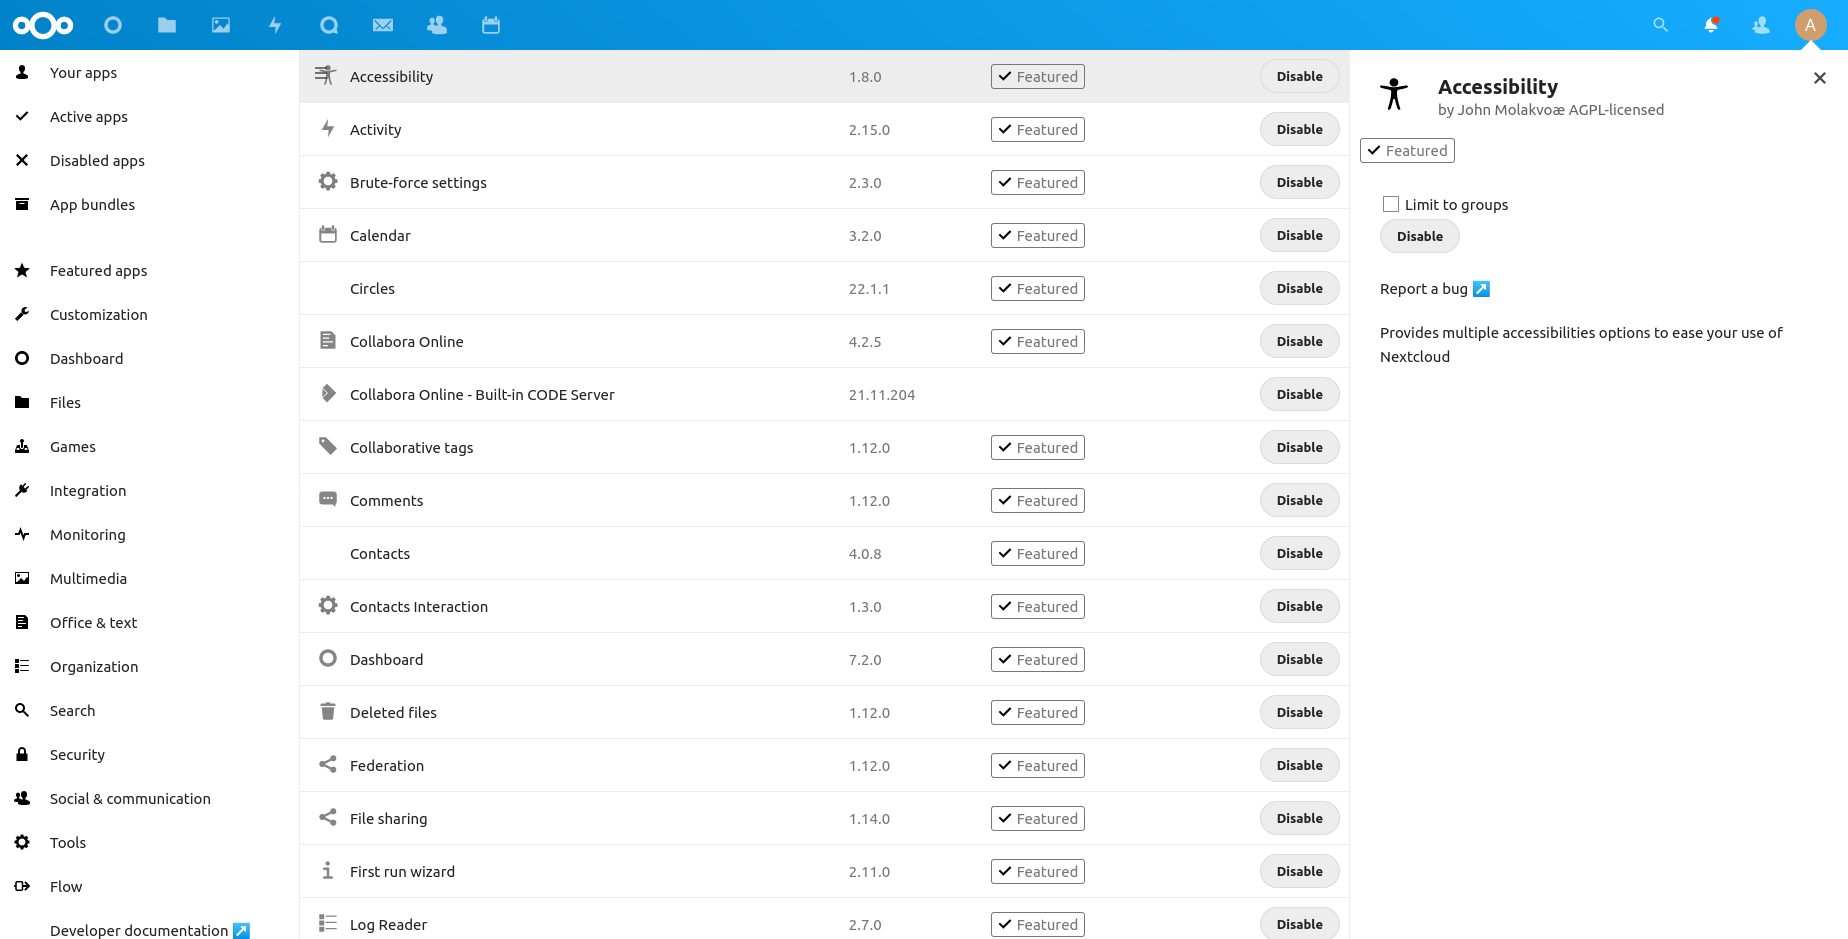
In the same profile icon drop down there is an App entry where admin users can install/uninstall/disable apps in Nextcloud. Most of the recommended apps are already installed. To install other apps and extend the functionality we can use this section.
General settings page
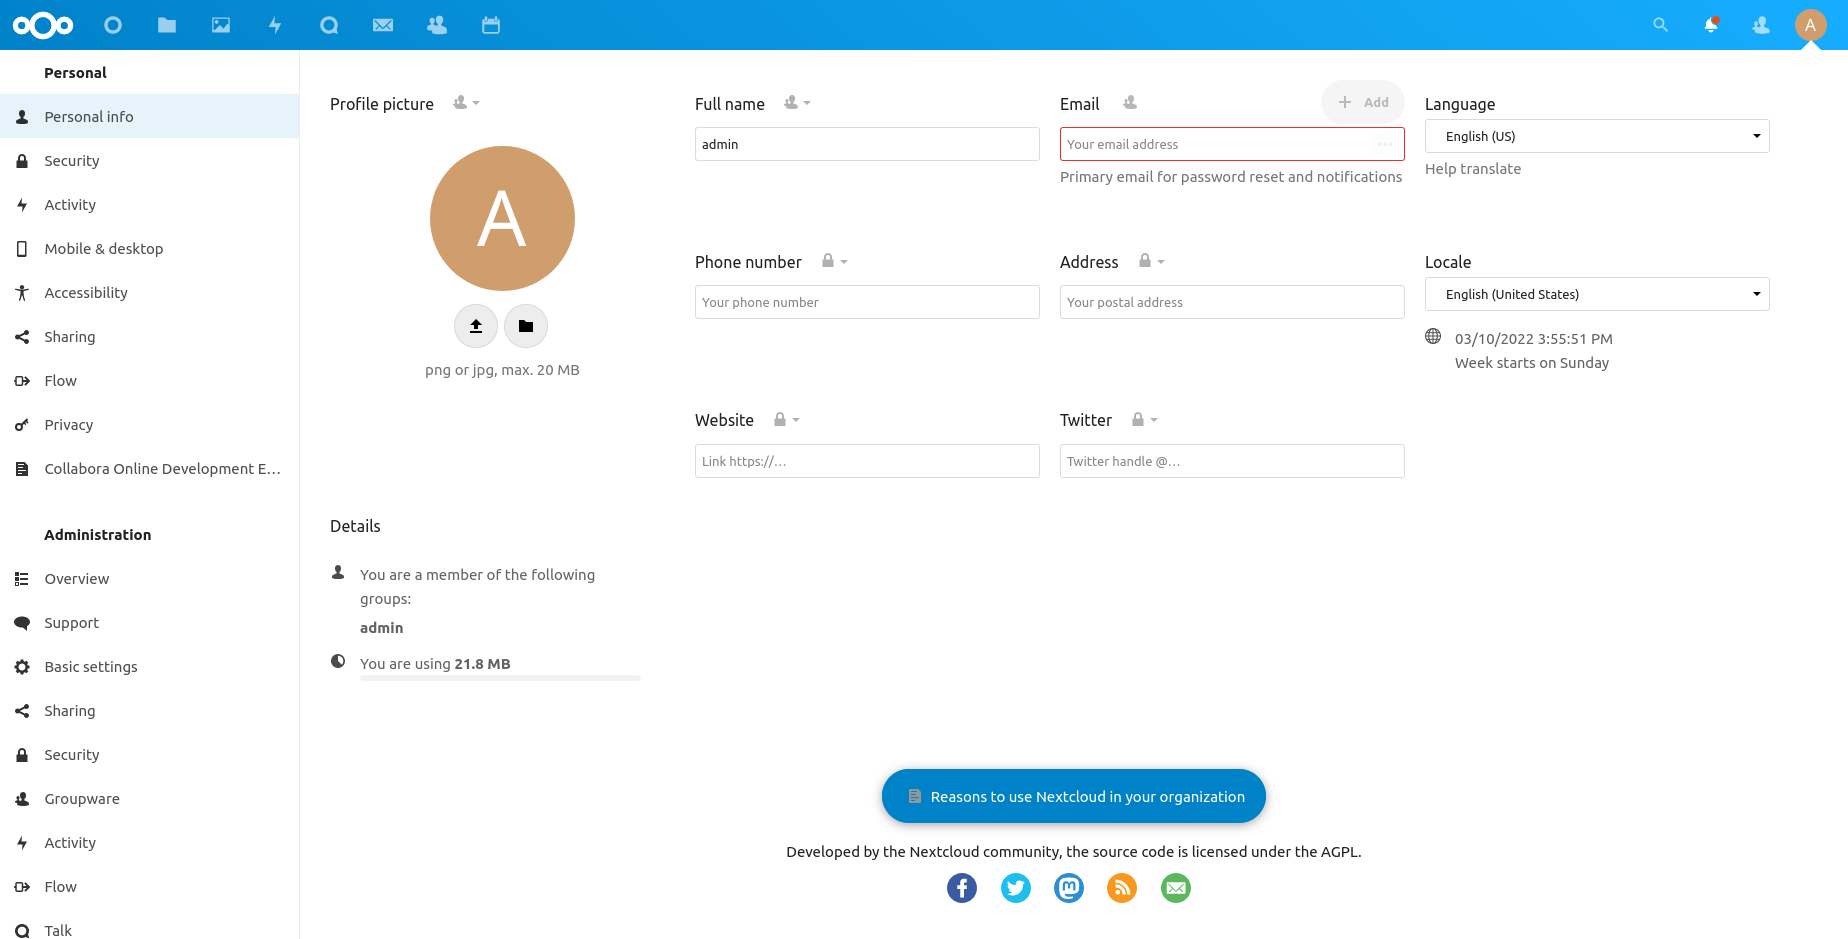
The profile icon dropdown also has a settings entry where this will redirect to the settings page. Here we can change basic settings like password, name display picture, etc. The admin user has more options like updating the settings of installed apps and other administrative settings.

Accessing from outside
Currently, we are accessing Nextcloud using http://localhost since we are accessing it in the same system that we are installed on. Nextcloud can be accessed from any device using the same network with its IP. The IP can be found using the ifconfig command.
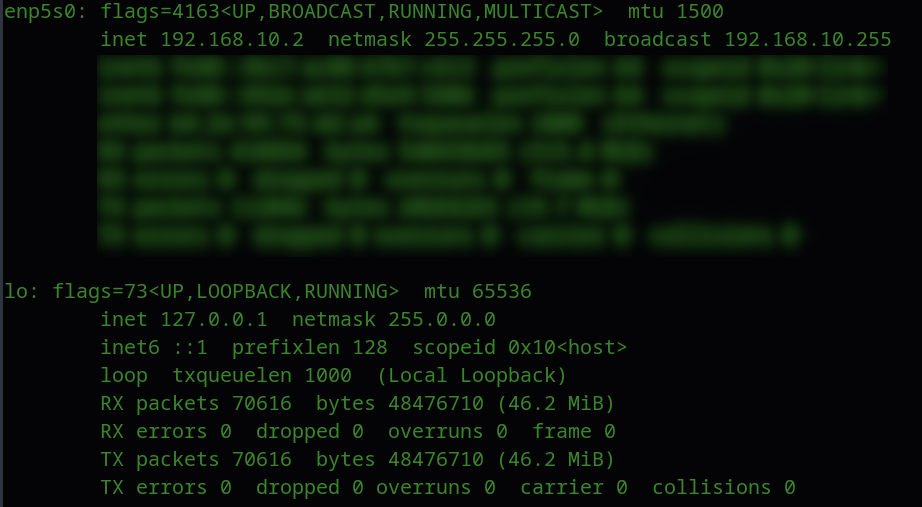
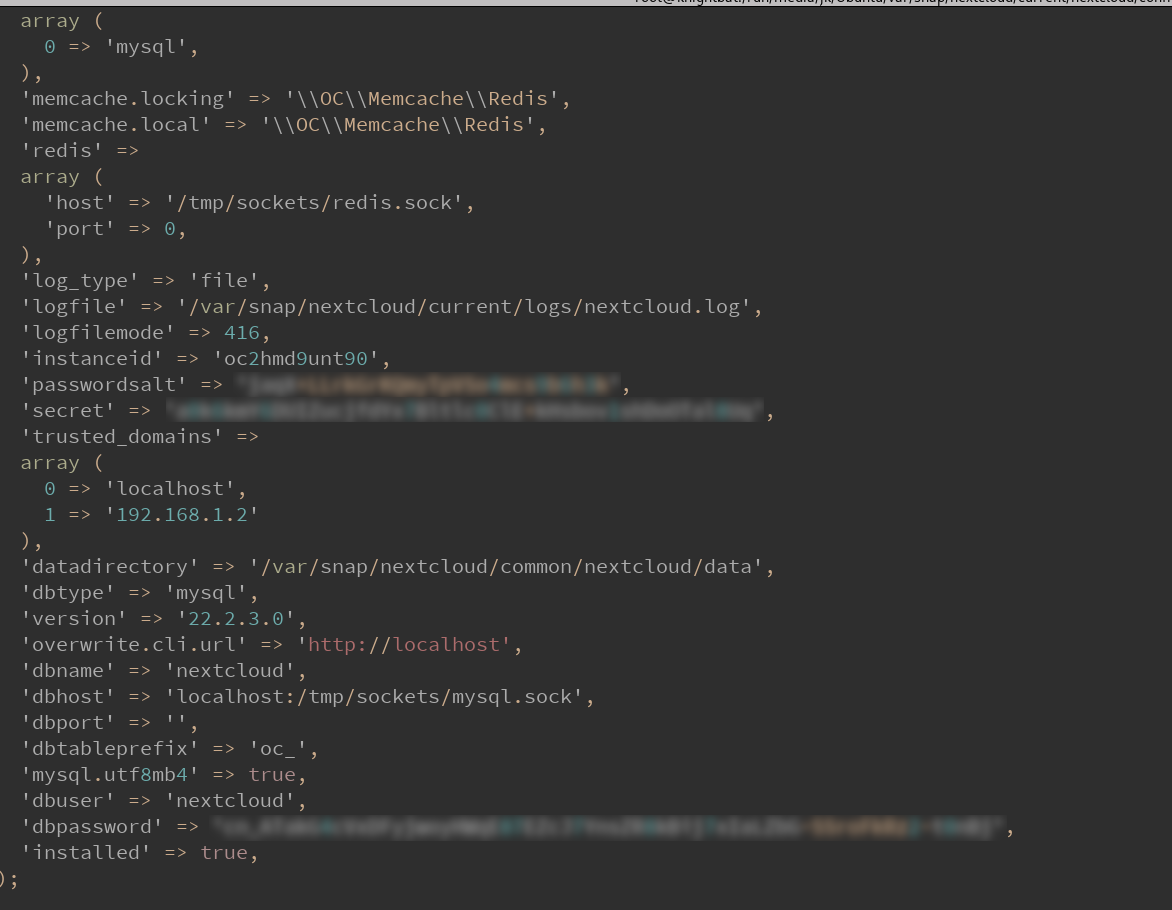
We can see that the IP is 192.168.10.2 this may be an IP assigned by your router dynamically. It is recommended to set a static IP to the computer we installed Nextcloud so the IP won’t change in case of reboot. Refer to your router’s documentation for setting up a static IP. After it is completed go to /var/snap/nextcloud/current/nextcloud/config/ and open config.php file using the command
gedit /var/snap/nextcloud/current/nextcloud/config/config.php
Add a new entry in the trusted_domains section with your new IP as shown below. If we won’t do that nextcloud won’t allow us to access it using this IP.
After editing and saving run the below command to restart the Nextcloud server so that the change will apply to it.
sudo systemctl restart snap.nextcloud.apache.service
Client applications
Nextcloud has client apps to access files and other services. It has windows, Linux, and macOS clients for PCs and iOS and Android apps for mobile devices. You can find the client application from their site.
Setting up an android client is shown below.
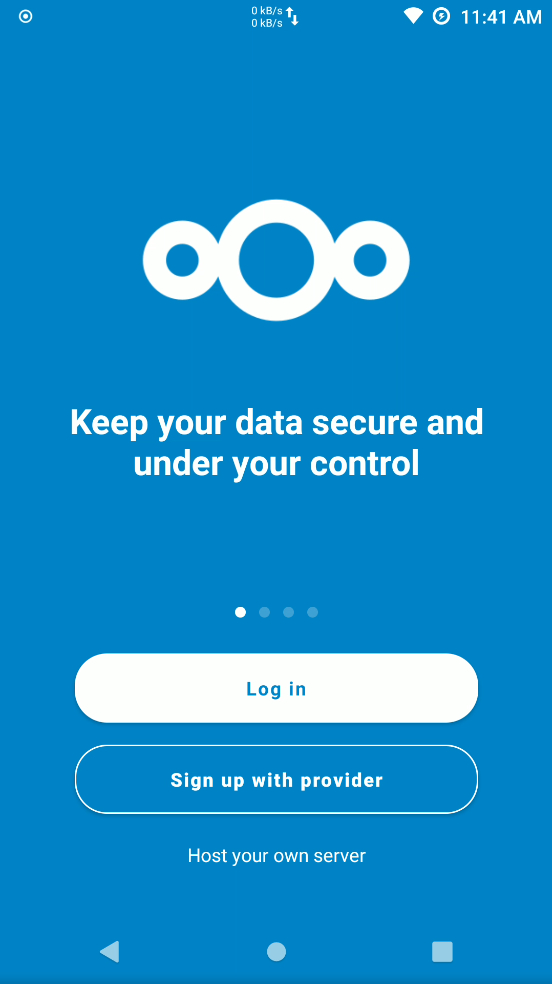
Click on login 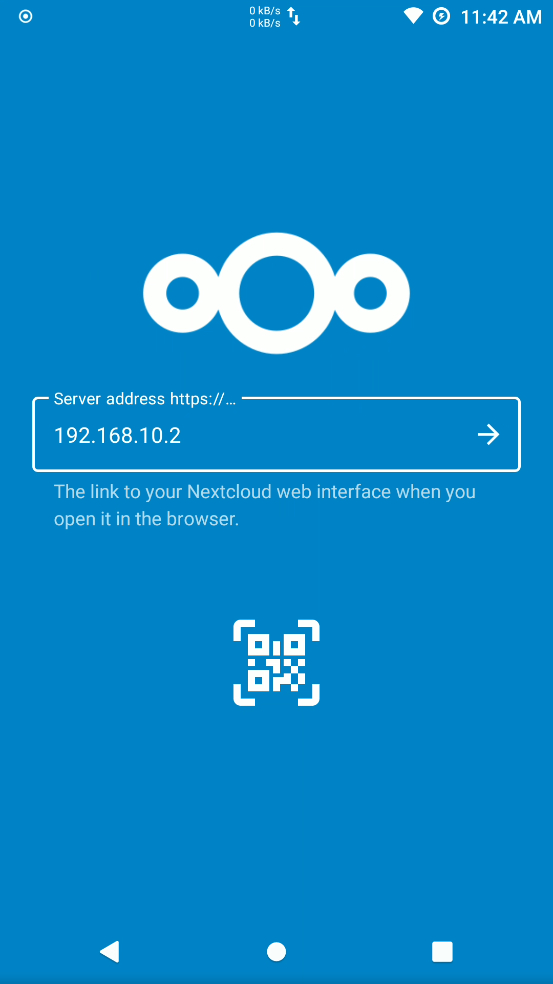
Add server URL 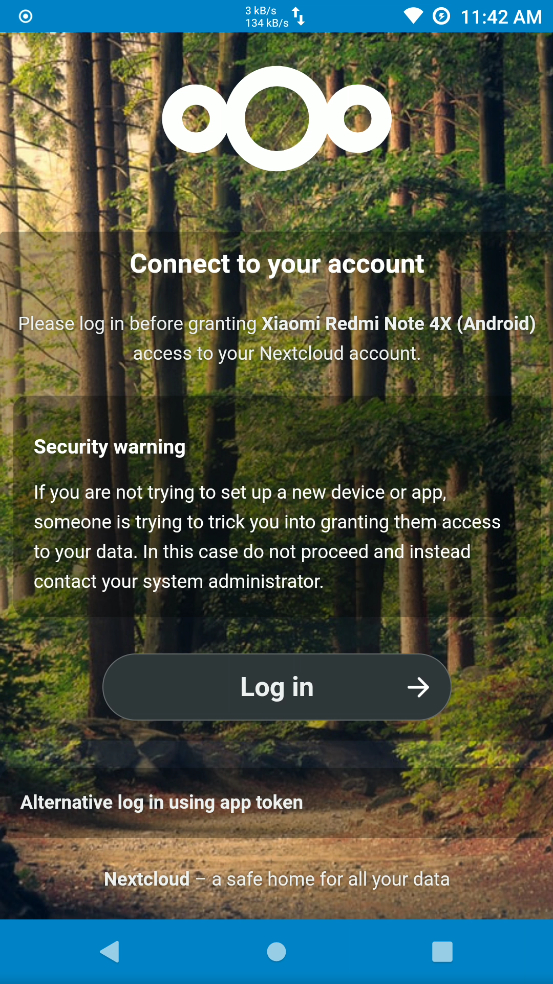
Click log in 
Enter username and password 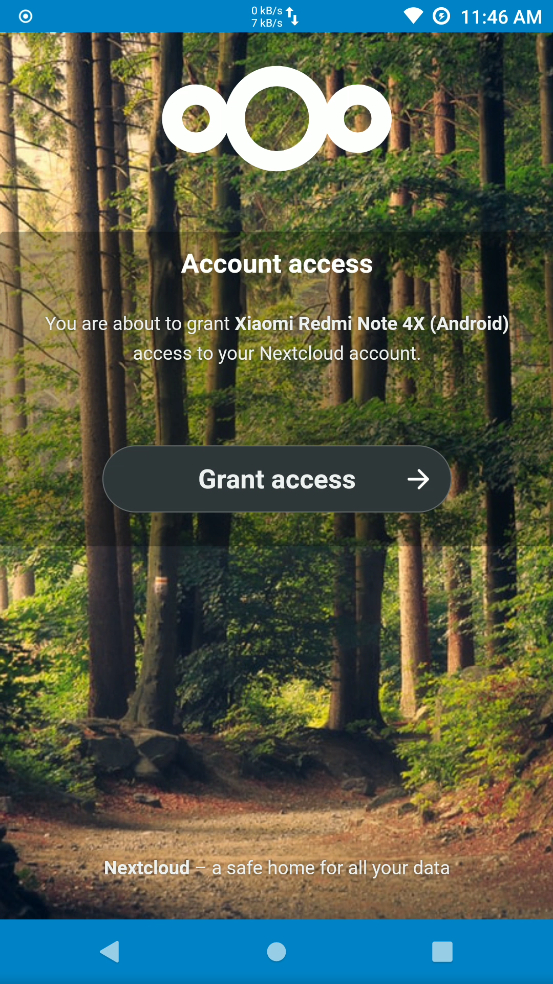
Grand access for the device 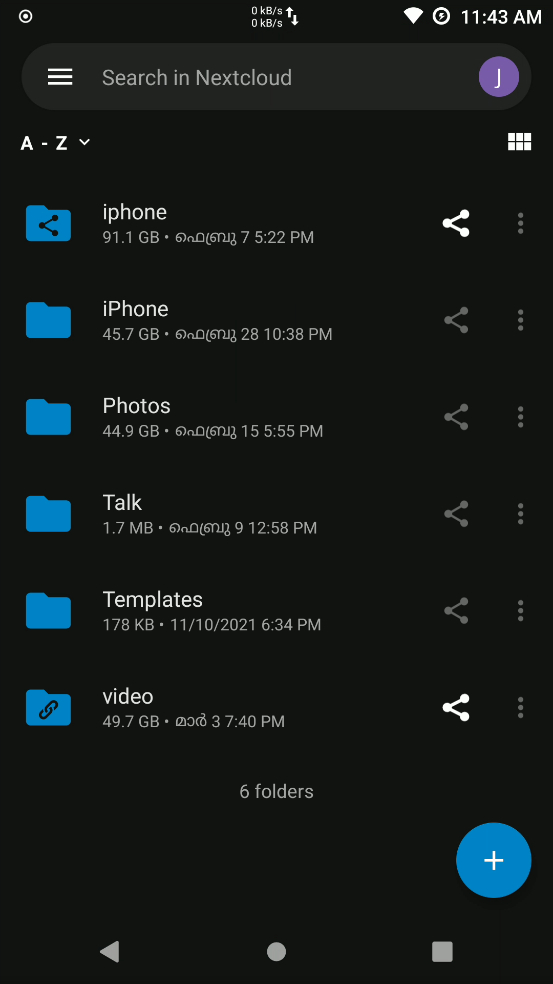
File managed for the logged-in user
The same will be for other clients. It asks for a server URL (in our case it is http://192.168.10.2), a username, and a password
Next Steps
If you are following along then the basic setup is completed. Any device that is connected to the same network can access and use Nextcloud. It can also be accessed from the internet with a registered domain name, a static IP (or you can use Free Dynamic DNS service like No-IP, if you don’t own a domain name and has a dynamic IP address), and an SSL certificate (Can create freely using Let’s Encrypt).
Conclusion
With Nextcloud you can set up an easy-to-use, secure, and customizable cloud file hosting service with low cost and maintenance. It has all the capabilities of popular third-party cloud file storage services. Unlike third-party cloud file storage services, you have full control over the data stored. You can also add or remove apps from it and create a server with your unique use case.